Issue management
As soon as you get first issues from Hive, you will be able to:
- view issue description and chat messages;
- assign issues to your teammates;
- send issues to Jira and view issue statuses and comments from Jira;
- create reports by issues.
In addition, you can customize cards on Project Dashboard and view issues by different categories.
View issue info and chat messages
To view issue info and chat messages:
- In the left menu select Projects > Issues;
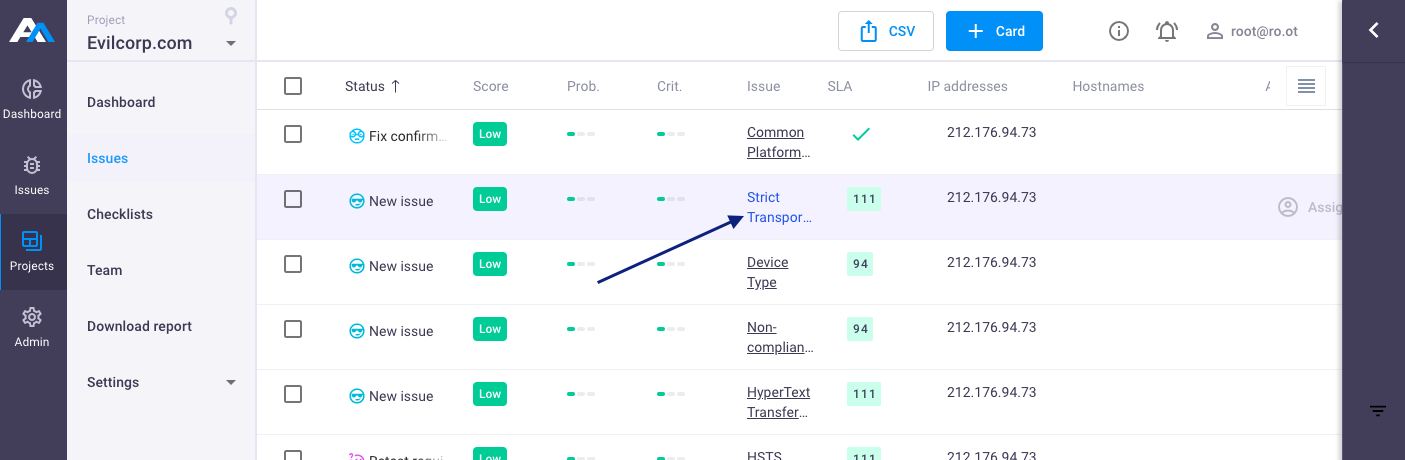
Single click on the issue. Description appears in the right column:
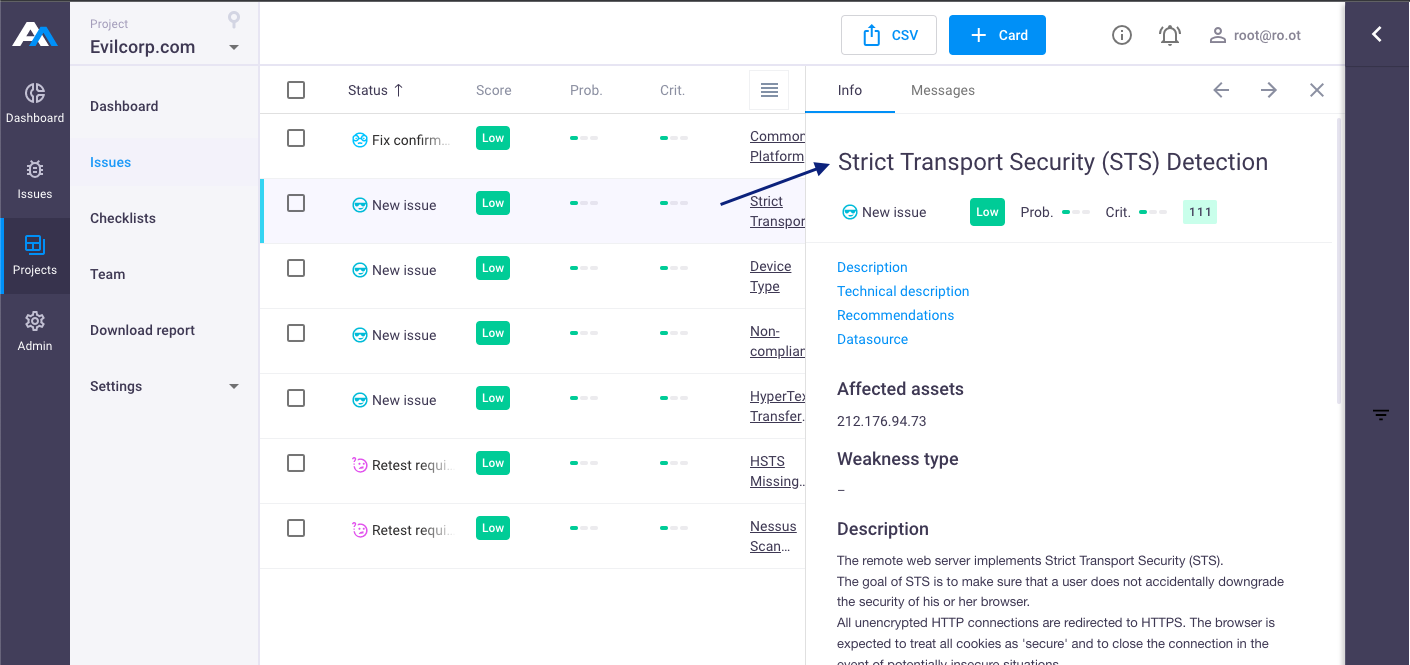
or
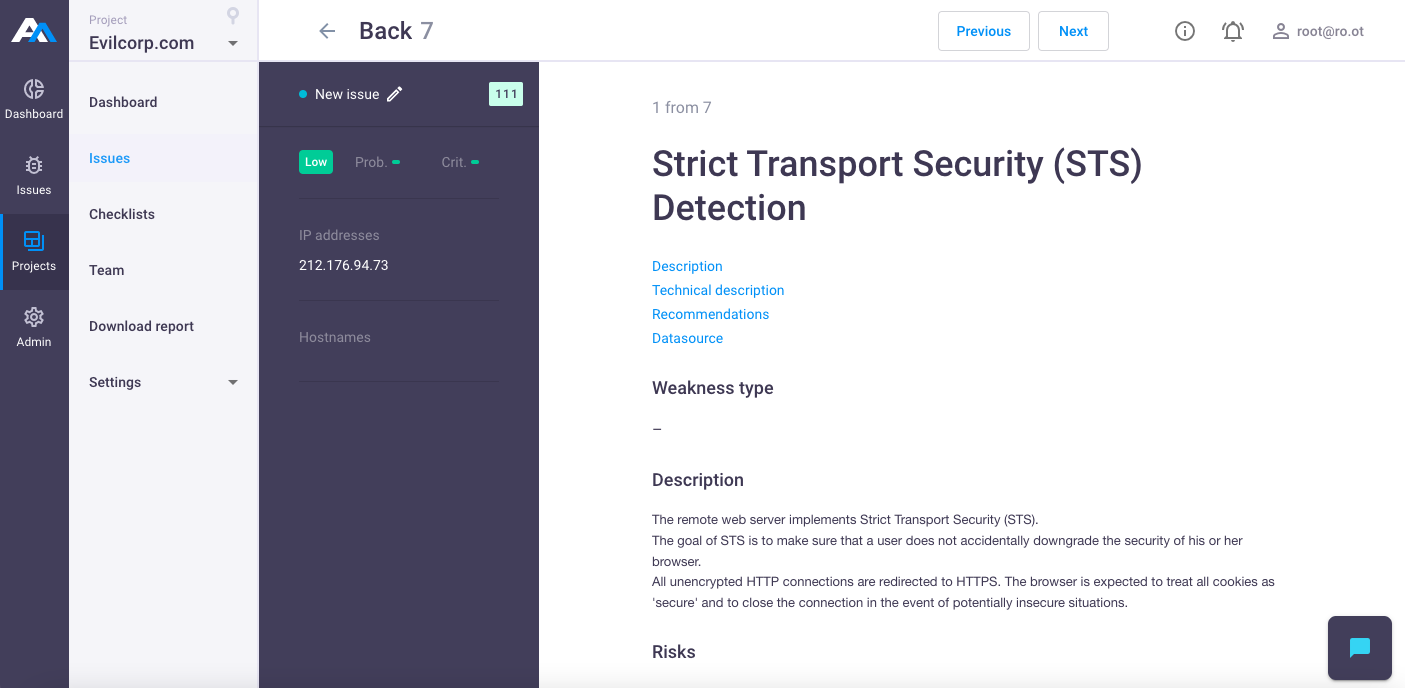
Single click on the issue Title;
Issue page will open:
To view or send chat messages in the issue page, click on the icon ![]() .
.
In issue page, you can also switch between issues, using Previous and Next buttons in the right upper corner of the issue.
Click Back, to return to the issues list.
Assign issues to users in projects
To assign issues to your team:
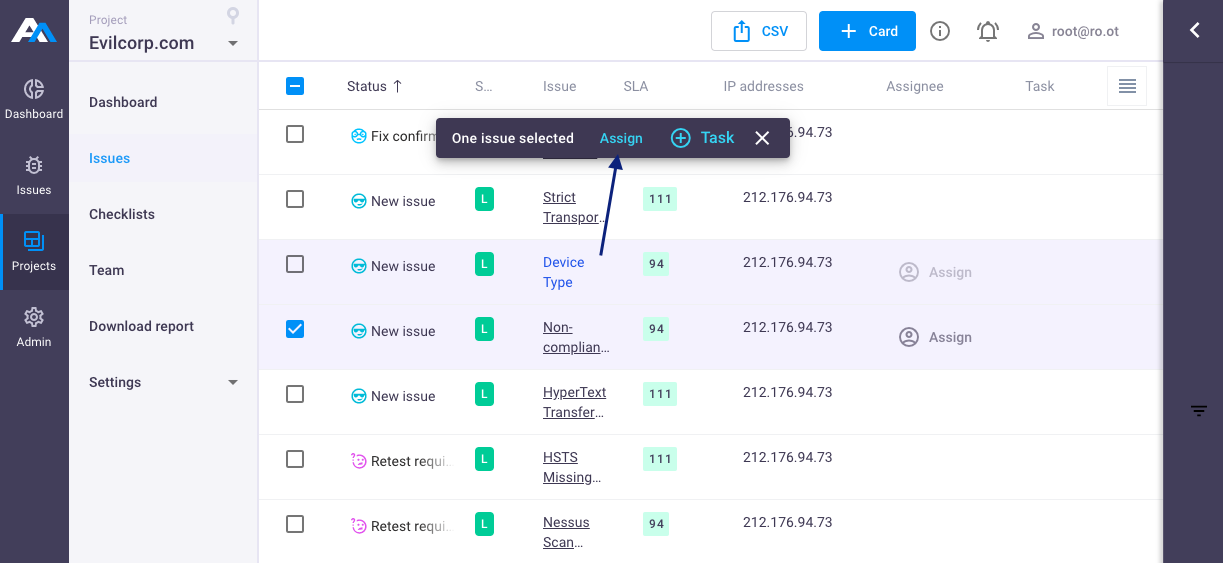
- In the left menu select Projects > Issues;
- Select one or several issues in the list using checkboxes;
- Click Assign in the popup to share all selected issues, or click
 next to the selected issue to share only one selected issue;
- In the Assign users window select one or several users and click
+. - Click on user to edit user access to the issue (edit or read). In this case, user will have access only to the assigned issues in the project, and will be able to edit them only if editor role is assigned.
Send issues to Jira
Note: to use this option your project should be connected to Jira (see section Integrations).
To send Issues to Jira:
- In the left menu select Projects > Issues;
- Select one or several issues in the list using checkboxes;
Click + Task;

Select your Jira connection name and click Send.
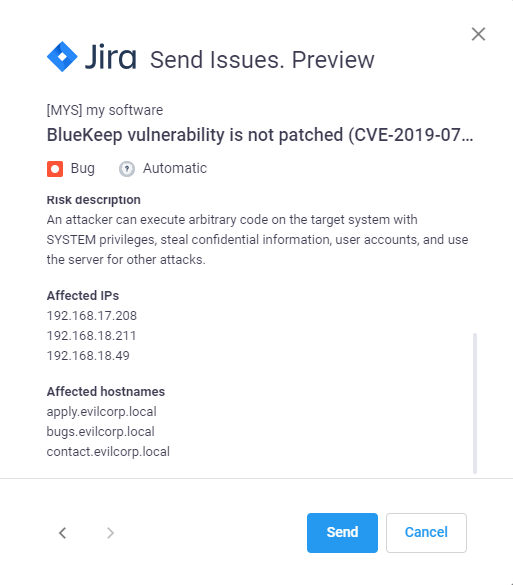
Once you send issues to Jira, you will be able to comment issues, as well as view issue comments and statuses from Jira.
You can send one issue to several Jira projects at the same time. In this case you will see several tabs in issue comments.
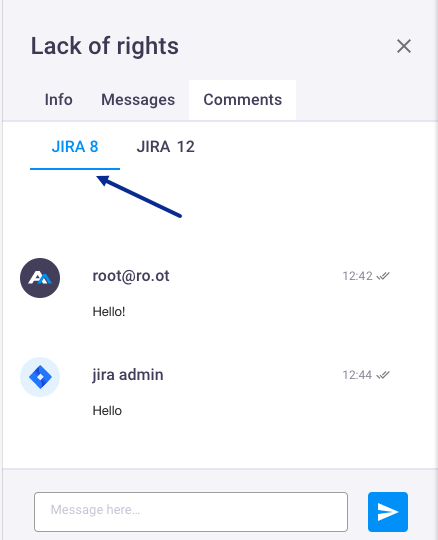
Use hotkey ctrl + Enter (or cmd + Enter) to send issue comments.
Note: you can delete or edit issue comments only in Apiary. In this case, deleted comments will remain in Jira.
Create report by issues
To create a report by issues in .DOCX format:
- In the left menu select Projects > Download Report;
- Select report template in the list;
- Select issue statuses (optional);
Enable Debug button to view technical tags in the report (optional) - use this option if you want to check the correctness of the report generation;
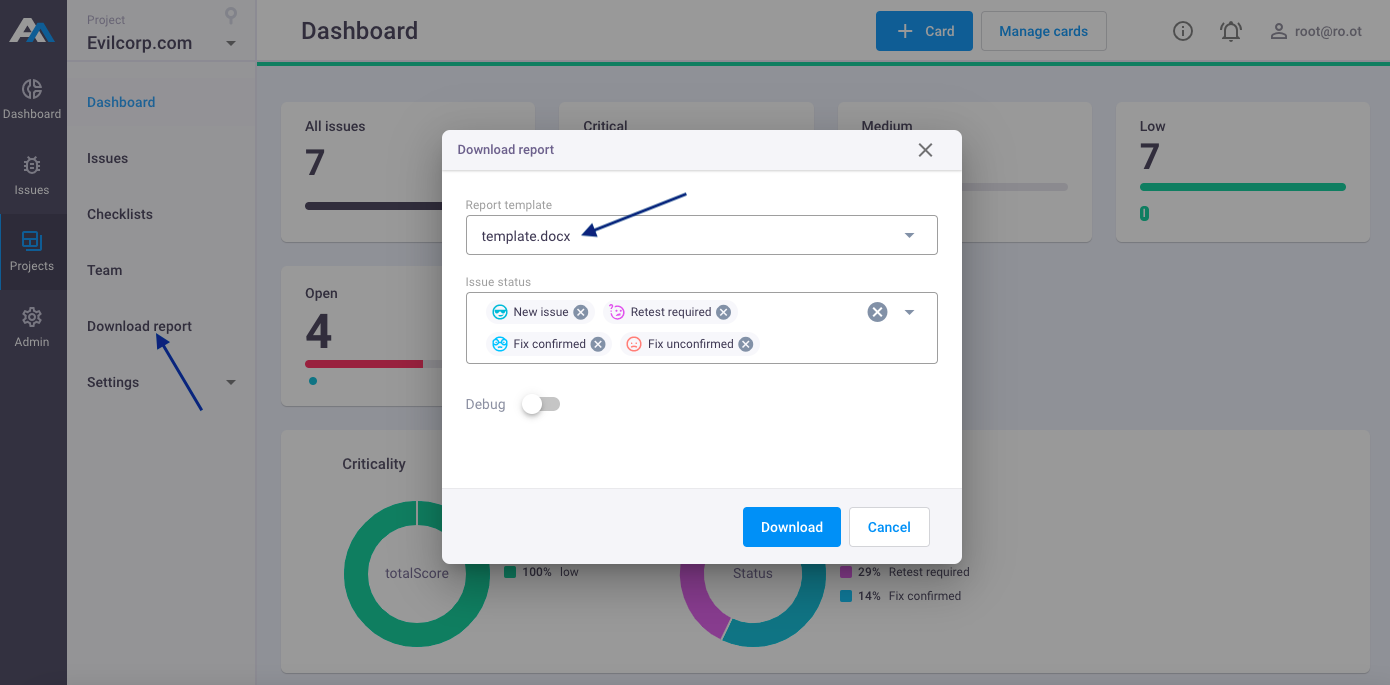
Click Download button. Report will be automatically generated.
To create a report by issues in .CSV format:
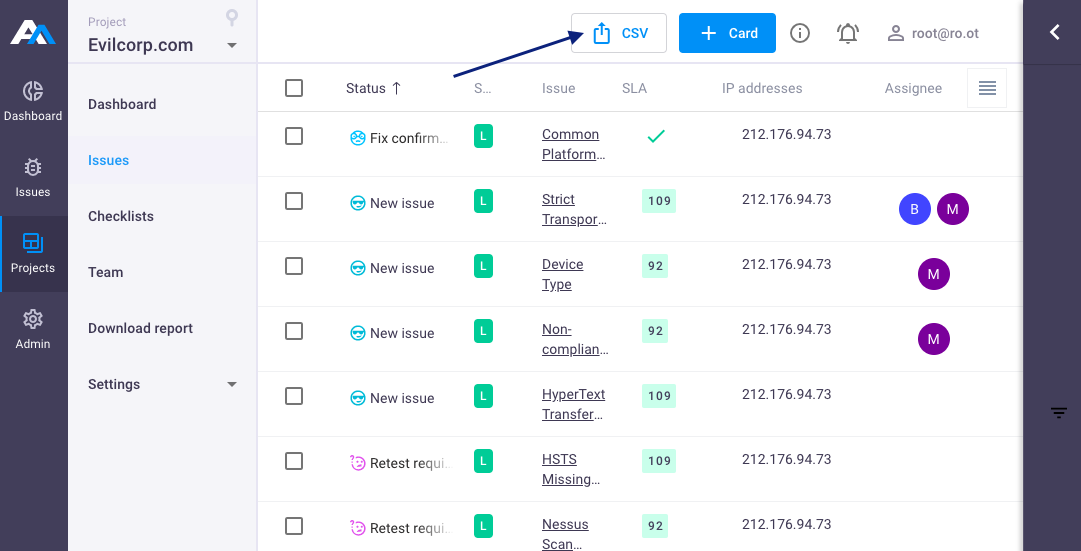
- In the left menu select Projects > Issues;
- Select one or several issues in the list using to download report by needed issues, or do not select any issue, to download report by all issues;
Click CSV button:
Specify needed settings for CSV-report:
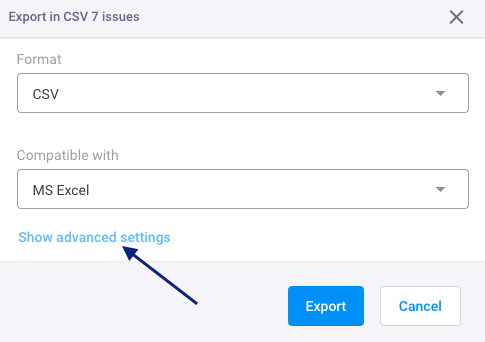
- Compatible with - CSV-report will be compatible with selected application (MS Excel, Google Docs)
- Show advanced settings - additional settings for CSV-report, in which you can specify such parameters as Encoding, Delimiters, Double quotes, Escape characters, Line terminators, Quote characters and fields.
Click Export button. Report will be automatically generated.