Apiary System Requirements and Installation
The Apiary is delivered as an executable web application in .RUN format.
Connection to web application is carried out via any latest browser.
Apiary hardware requirements
The following are the estimated system requirements:
| Description | Minimal Requirements | Recommended Requirements |
|---|---|---|
| RAM | 8 GB | 13 GB |
| CPU | 2 cores | 3 cores |
| Disk speed | 50 IOPS | 100 IOPS |
| Disk size | 65 GB | 90 GB |
Preparing for installation
Before installation, prepare a virtual machine or server with one of the supported operating systems:
- CentOS 8
- RHEL 8
- Ubuntu 20.04
- Ubuntu 22.04
Some Linux distributions in minimal installation may not include the following utilities: curl, find, groupadd, tar, gzip, useradd, xargs. However, these utilities are used in the Platform, and we recommend you to install them.
Install docker engine including docker compose plugin on the machine.
Note 1:
docker from snapcurrently is not supported.Note 2: docker-compose standalone is supported, but not recommended.
Extracting installation files from an image
To extract installation files from the supplied image for verification, perform the following steps:
- Open the console of the virtual machine;
Run the command (root privileges required):
bash ./install_hw_fh_en-US_<version>.run --noexec --target </your/new/directory>where,
</your/new/directory>– the directory where the installation files will be extracted;*.tarfiles – container images;ascii-logo.txt– logo that is displayed in the console during installation;bin.tgz– bash scripts for extracting to/opt/hw-fh/bin;installer,installer.sh,common-functions.sh,load-images.sh– installer (bash script);defaults.ini– global settings of the platform (is copied to/opt/hw-fh/config);user-template.ini– list of all settings supported by current version (is copied to/opt/hw-fh/config);systemd.tgz– service systemd (is copied to/opt/hw-fh/systemd);ssl.tgz– self-signed SSL-certificates (are copied to/opt/hw-fh/qssl,/opt/hw-fh/fssl,/opt/hw-fh/dpssl, but only during first installation);kb.tgz- pre-installed report templates and vulnerability descriptions.
Apiary installation
- Download the installation file from hexway.io to the machine;
To start installation, run the command:
bash ./install_hw_fh_en-US_<version>.runAfter installation, you will get the following message:
hexway Apiary ready to use.
UI accessible on http://<ip-server> or https://<ip-server>
Login as '<username>' password: '<password>'
Open the Platform in the browser by the address specified in the message:
http://<ip-server>/orhttp://<your-domain-name>/.
Connection settings
Note: the following settings are required if you want to create connection between Hive and Apiary projects.
- Open the file
/opt/hw-fh/config/user.ini(root privileges required); Add the following lines to the
[main]section:[main] ; rabbitmq port: rmq.client.port = 5672 ; DNS name or IP address of the machine you install Apiary to: rmq.client.host = <my-apiary.example.com>
Note: you can also configure secure connection for RabbitMQ. See section SSL certificates in Apiary
To apply settings, run the following command (root privileges required):
/opt/hw-fh/bin/reconfigOpen the Platform in the browser by the address:
https://<ip-server>/.
Connect Hive and Apiary to the same docker network
The following settings are required, when Hive and Apiary are running on the same machine, and you want to create connection between Hive and Apiary projects without SSL.
To configure Hive, go to the Hive Help Center > Setup Hive ports.
In Apiary proceed with the following:
- Open the console of the machine, where Hive and Apiary are installed;
Create your own docker network by running the command:
docker network create -d bridge <NETWORK_NAME>You can check if you have a docker network with type
'bridge'already created and use its name for the connection:docker network ls --filter driver=bridge
- Open the file
/opt/hw-fh/config/user.ini(root privileges required); Add the following lines to the
[main]section:host.container.network.common.name = <NETWORK_NAME> host.container.network.common.type = external q.ssl.enabled = no_ssl rmq.ip.expose = 127.0.0.1 rmq.port.ssl.expose = 5672 rmq.client.host = d_queue rmq.client.port = 5672Save the
/opt/hw-fh/config/user.inifile;To apply changes, run the command:
/opt/hw-fh/bin/reconfig
Installation of updates
To update Platform:
- Download the installation file from hexway.io to the machine;
Run the command:
bash ./install_hw_fh_en-US_<version>.run
During the update process, Platform will be saved to a backup and then the latest updates will be installed.
Notes:
- Platform backups are saved to the
/opt/hw-fh_backupfolder;- The Platform stores only the three latest backups.
When installation completes, Platform will start automatically.
Note: after installation of updates, connection between Hive and Apiary projects should restore automatically, however it may take some time. If connection did not restore, see section Apiary troubleshooting.
Default passwords
The default passwords of the root user is generated automatically during the installation and saved to the file /opt/hw-fh/config/local.ini.
You can view the default password of the administrator using the command:
/opt/hw-fh/bin/show-info
Password policy
You can set the custom rules for password creation using the user.ini file.
To apply it, you need to do the following:
- Open the console of the virtual machine;
Open the
/opt/hw-fh/config/user.inifile using the command:sudo nano /opt/hw-fh/config/user.iniAdd the
f.password_policyproperty, which is a comma-separated key-value list of the following parameters:require_min_len- minimal number of symbols. Integer.require_digits- if, at least, 1 digit is required. True or False.require_lowercase- if, at least, 1 symbol in lowercase is required. True or False.require_special- if, at least, 1 special symbol is required. True or False.require_uppercase- if, at least, 1 symbol in uppercase is required. True or False.
For example:
f.password_policy=require_min_len=13,require_digits=true,require_lowercase=true,require_special=true,require_uppercase=true- Save the
/opt/hw-fh/config/user.inifile. - To apply changes, run the command:
/opt/hw-fh/bin/reconfig
All the additional parameters can be specified in any order or not added at all.
E.g., if you don't want to add special symbols to your password policy, you can either set it to False, or not add it to the list:
f.password_policy=require_min_len=13,require_digits=true,require_lowercase=true,require_uppercase=true
Change display language
You can change the display language for Apiary using the localization files.
To achieve that you need to do the following:
- Open the console of the virtual machine, where Apiary is installed.
- Switch to the directory, where you'd like to store the localization files, e.g.
cd /opt. Get the copy of the language pack:
git clone git@github.com:hexway/apiary-langpack.gitOpen the
/opt/hw-fh/config/user.inifile using the command (root privileges required), e.g.nano /opt/hw-fh/config/user.iniAdd the parameter
f.deck.languages.dirto the[main]section and specify the path to the folder, e.g.:f.deck.languages.dir = /opt/apiary-langpack- Save the
/opt/hw-fh/config/user.inifile; To apply changes, run the command:
/opt/hw-fh/bin/reconfig
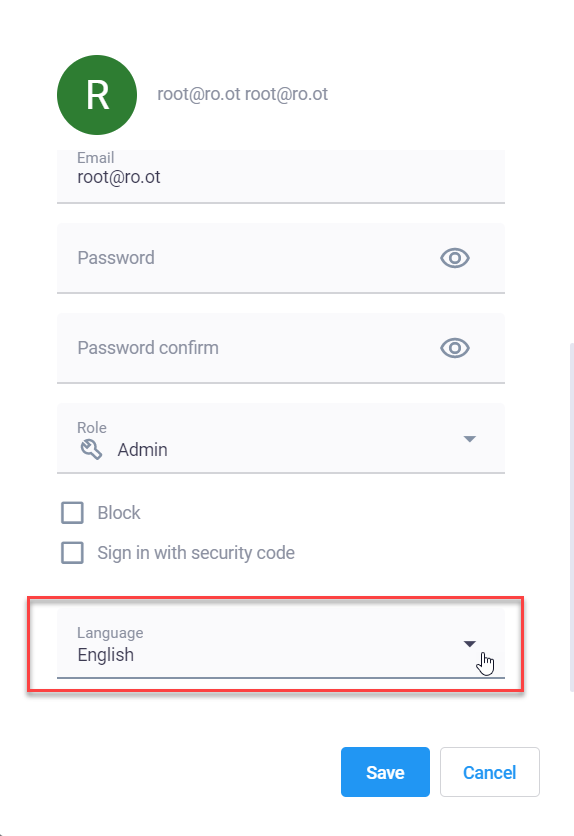
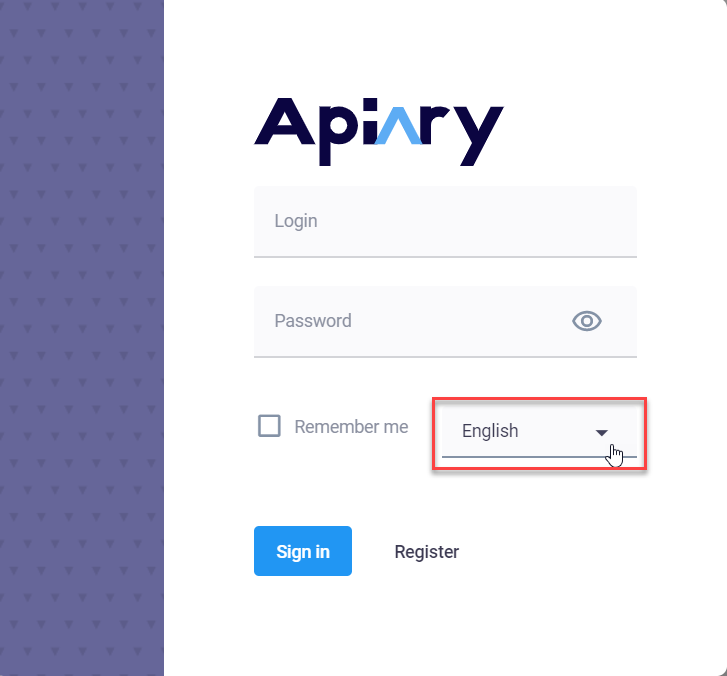
After that you will be able to change the display language for Apiary:
On the main login page:
When you go to User > Profile: