Getting started: Create Projects in Apiary
Apiary projects are the containers of issues from various pen-testing teams after they perform security audits on Hive. All issues detected and registered by pentesters on Hive are automatically sent on Apiary when connection between projects is established.
Creating a project
Important: if you're using App connection, see Apiary App connection to create a Project.
To create a new project:
Click + Project on the main Apiary page. Create project wizard appears;
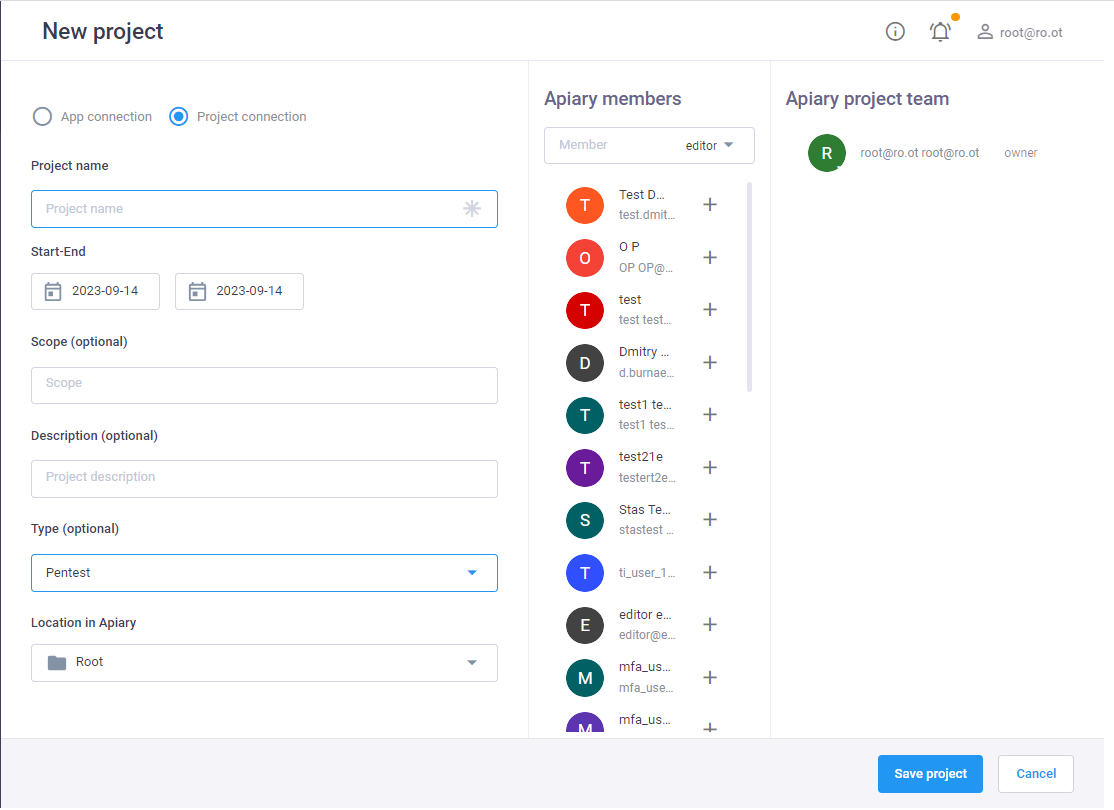
Select the option Project connection to create connection between Apiary and Hive;
Note: you can set connection between projects later, e.g. when editing project settings.
Enter Project name (mandatory field, name should be unique)
- Indicate project dates;
- In the fields Scope and Project description add information about your project (optional);
- Select Project type (optional);
- Click Save project. New project appears on the main page.
Project Team
To add users to the Project, perform the following steps:
- Open your project;
In the left menu select Projects > Team and in the window add users using
+button;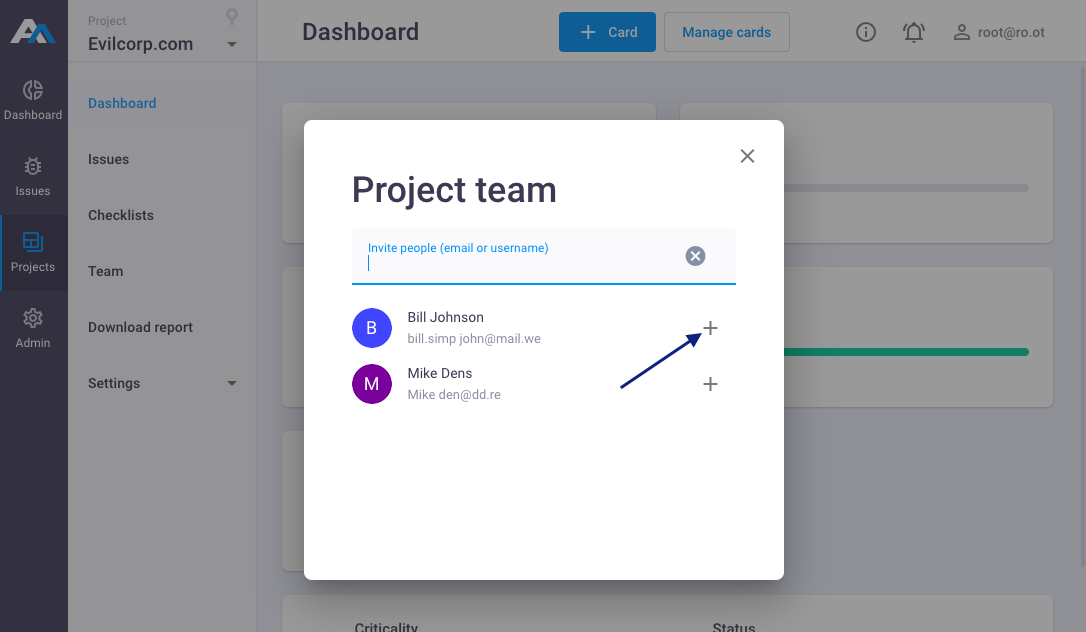
Assign role to the user in the project;
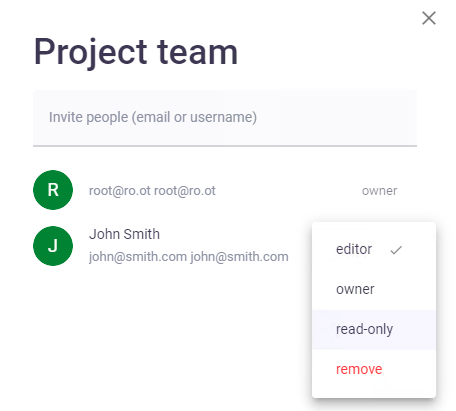
- Owner - has full access to all functions of the Project;
- Editor - can edit shared project and issues;
- Read-only - can only view shared project and issues;
Managing projects
To manage project:
- Select project in the list;
Click on
 next to it and select one of the options;
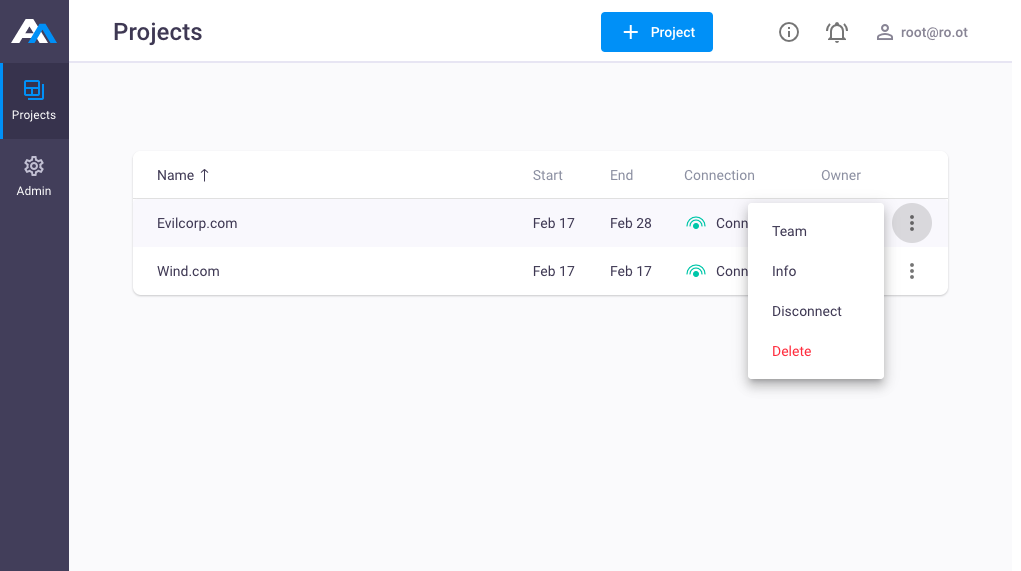
- Select Team to add new team members to your project and assign roles to them (Owner or Editor):
- Select Info to change project description, scope, dates and type;
- Select Connect to configure connection between Apiary and Hive projects.
- Select Delete to remove project from the Platform.