Create connection between Hive and Apiary projects
There are two types of connections available:
- App connection - the link is set between Hive and Apiary platforms.
- Projects connection - the connection between individual projects.
App connection
With this type of connection all the projects, that created on Apiary, then automatically created and synced with on Hive side.
To set up the App connection perform the following steps:
Go to Administration > App connections and click on Upload Apiary configuration:
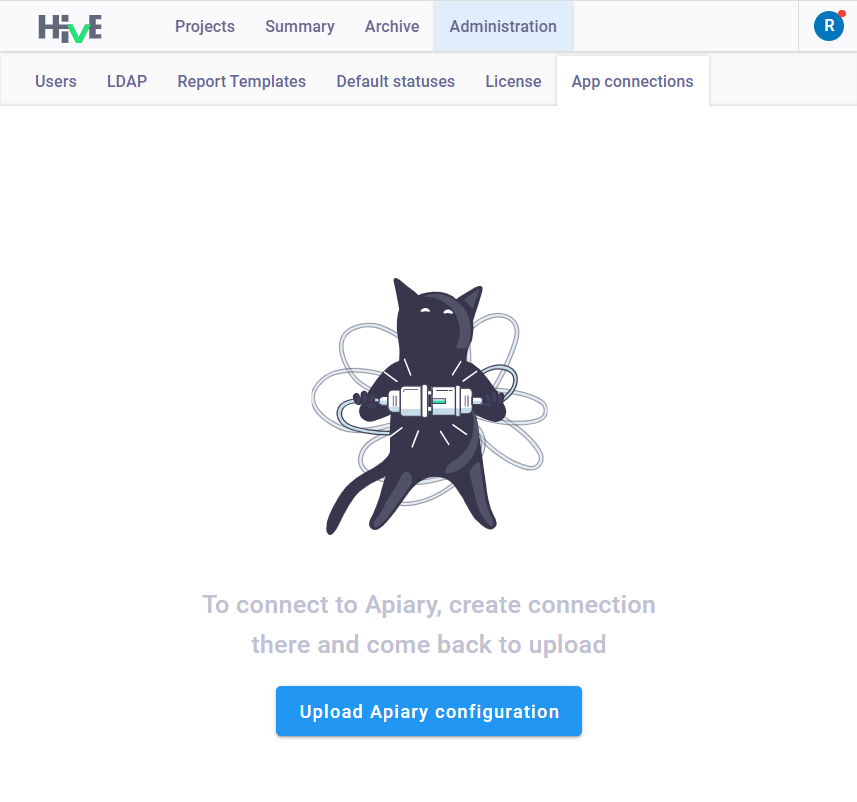
Upload the
.ziparchive downloaded from Apiary.
After the connection is established, proceed with creating a project on Apiary side first, and then it will appear in Hive. See Apiary App connection
Project connection
This connection is set between two individual projects. To do that perform the following steps:
- Right mouse click on the needed project in the projects list;
- In the drop-down menu, click Connect;
- In the Configure connections window, select one of the options:

- Link with existing - select this option to upload the existing configuration file in
.yamlformat to the Hive project. You should first download this file from Apiary project. - Generate new - generates a unique configuration file in
.yamlformat. To create a connection, upload this file to the selected Apiary project.
The connection will be created automatically after uploading the configuration file into the project.
To test the connection, in the Issues tab register issue and mark it as Ready. If connection is established, issue will be automatically sent to Apiary project.
When you set the connection between projects, you will be able to send issues from Hive to Apiary and to communicate with end customers via issues Chat.
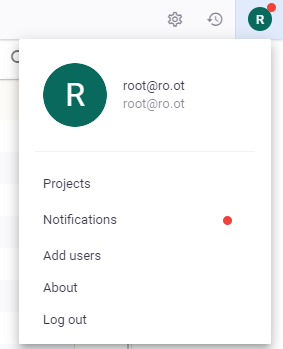
Notifications
After sending of issues, you will sometimes get notifications from various issues chats.
Note: each issue has own Chat.
When you click on a notification, you will be redirected to the issue chat.
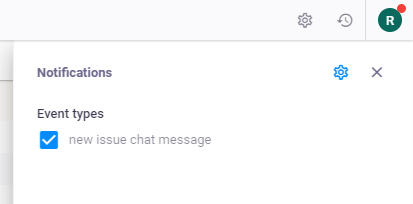
To disable Notifications click on ![]() and remove the checkbox in Event types field:
and remove the checkbox in Event types field: